When homeowners have kitchen renovations in their home, perhaps including cabinet makers creating increased storage space with new cabinets, it is certain that on day one after completion, these kitchens look akin to the sort of kitchen layouts you might see in a kitchen showroom.
Doubtless, for the first few days and weeks, everyone in the family will be well-warned to look after the new kitchen and to tidy away any mess as soon as possible. That may even continue for several months as everyone in that home takes pride in their new kitchen.
Part of keeping the kitchen looking as good as it did when it was first completed will be cleaning that kitchen. That will cover several tasks, such as mopping the floor, wiping countertops, and washing and putting away dishes and cutlery after mealtimes.
In addition to these, there is also the cleaning of the new kitchen cabinets that will need to happen, and this often requires more thought than simply wiping the doors of cabinets with a cloth. Kitchen cabinets are made using a variety of materials, and what can be used to clean one material may damage another. So, we thought it would be useful to highlight some suggestions as to how you can keep your new kitchen cabinets clean but do so safely too.
Seek Advice From Your Cabinet Makers: This tip, more than any, will make cleaning your cabinets more effective and could save you heartache by avoiding damaging your cabinets because you used a cleaning solution not suited to them. Ideally, you want advice on what your cabinet makers recommend as cleaning solutions that are safe to use on your cabinets.
Work From The Top, Downwards: You will find it easier and more effective if you start working from the top of your kitchen cabinets downwards. The logic is that if you clean the lower areas of your kitchen first, then they will become dirty again as you dust and clean the upper areas thereafter, and some of the dirt and dust will fall below.
Empty The Cabinets: Assuming you are going to be cleaning the interiors of your cabinets, then we suggest that you empty each cabinet before you do so. Not only will this ensure food and other edible items are not contaminated by cleaning solutions, but it also keeps glassware and crockery which you store in your cabinet safe from being broken if you accidentally knock them while cleaning.
Clean The Cabinet Interiors: First, dust the interiors to remove any dry debris. Then, based on the advice from your cabinet makers, use an appropriate cleaning solution to wipe the top first, then the sides, and then the base of each cabinet’s interior. A great tip is to use an old toothbrush to reach the corners and angles which are harder to reach and to get clean when using a cloth.
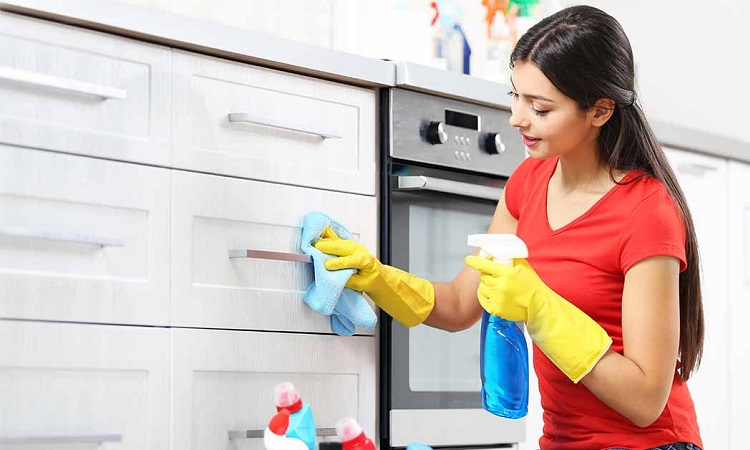
Clean The Cabinet Fronts: Now that the interiors of your cabinets are clean, it is time for the exteriors to be made likewise. Once more, use only the cleaning solutions recommended by your cabinet makers, and at the risk of repeating ourselves, start at the top of each cabinet and work your way down.
Cleaning Mirrored And Glass: As part of your kitchen renovation, you may have cabinets with glass or mirrors in their front or a single display cabinet with glass or mirrors. You can use tried and tested cleaning methods for these, such as vinegar and some dish soap, or one which you would normally use to clean glass. The main caveat is not to spray the solution directly, as some of it may go onto the cabinet frames and damage them, especially if they are wood or wood-based.
Wipe Hinges, Knobs And Handles: Last but not least, you should clean the accessories associated with your cabinets, such as the knobs, handles and hinges. This can mostly be done by a wipe with a cloth, although you may wish to use the aforementioned toothbrush for spots that are difficult to reach.

